Optimizing VPS Resources for E-Commerce Websites
You’ve taken the plunge. You’ve leveled up from shared hosting, and now your e-commerce site is no longer crammed into a digital clown car with 50 other websites. But it still feels…slower than it should.
If you’re running an e-commerce site on a virtual private server (VPS), you’re already ahead of the shared hosting crowd. But are you really making the most of those resources you’re paying for?
Probably not. (Don’t worry, we’re not judging.)
Good news: you’re not alone. Better news: you can fix this without turning into a full-stack wizard.
Welcome to your no-fluff guide on optimizing your VPS for e-commerce, whether you’re prepping for a massive sale or just trying to shave seconds off your load times.
Let’s start at the root.
Why E-Commerce Sites Push VPS Hosting to Its Limits
Not all websites are created equal. Think of running a portfolio site or a blog like parking a Vespa. Meanwhile, running an e-commerce store is more like juggling a fleet of delivery trucks during rush hour.
- Traffic isn’t steady — it surges: A well-timed email blast or a viral TikTok, and suddenly, your store’s getting 10x the visitors. Can your server keep up?
- More pages = more database calls: Product pages, filters, carts, logins, reviews…all those requests add up.
- Third-party scripts galore: Payment gateways, CRMs, inventory tools — they’re all part of the fun (and your performance problem).
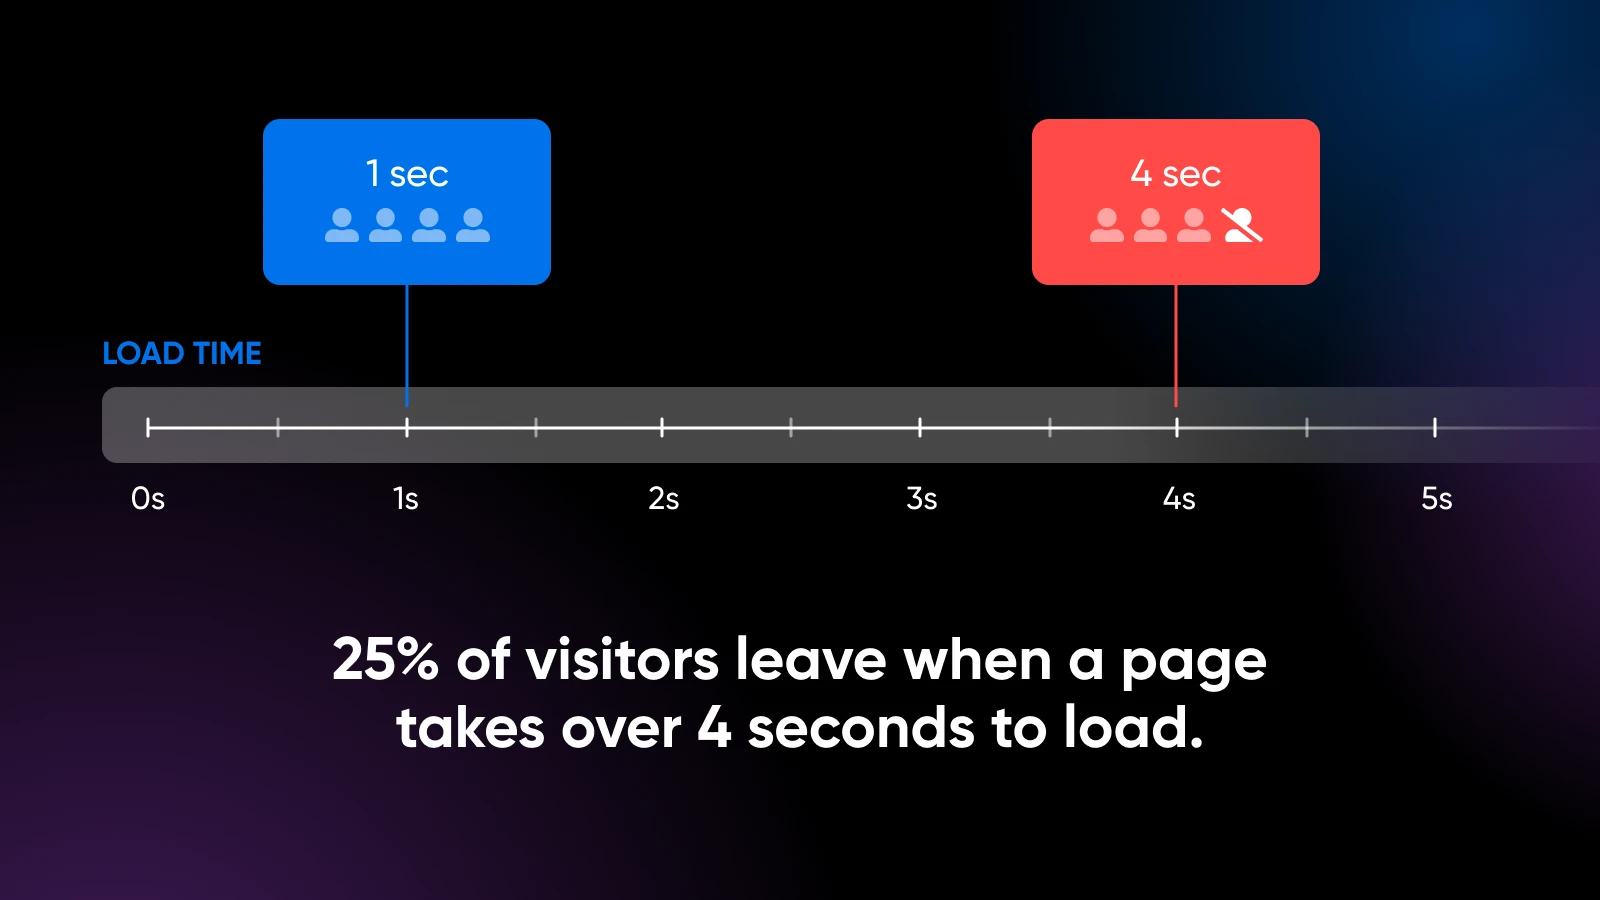
- People expect speed: 1 in 4 visitors bounce if a page takes over four seconds to load. In e-commerce, speed is survival.
A generic VPS setup isn’t always enough. You need one tailored to these unique demands.
First…Is It Even Your VPS?
Before you start scaling up and throwing money at bigger plans, ask: Is this actually a server issue…or just a bloated site?
Here’s how to tell:
Symptoms of a slow site, not a slow server:
- Huge, uncompressed images
- Dozens of unnecessary plugins (hello, WordPress)
- Poorly coded themes
- JavaScript bloat from apps or trackers
Symptoms of an underpowered VPS:
- Slowdowns during traffic spikes (but fine otherwise)
- High CPU/memory usage even after front-end cleanup
- Crashes during checkouts or sales events
- Server-side tasks, like search or cart updates, that lag
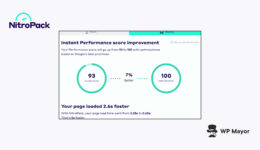
Pro tip: Use tools like Google PageSpeed Insights or GTmetrix to see what’s really going on.
Choosing the Right Operating System for E-Commerce
This part sounds dry, but your choice of operating system can affect performance.
- Ubuntu/Debian: Solid default. Easy to manage, plenty of documentation, great community support.
- CentOS/AlmaLinux: If you’re coming from cPanel land or prefer a RHEL-style OS.
For e-commerce, Linux distributions like Ubuntu or CentOS typically outperform Windows solutions because of:
- Lower resource overhead (more resources for your actual store)
- Better security profiles (fewer patches needed)
- More optimization options for web servers and PHP
If you’re running a DIY VPS, Ubuntu 22.04 LTS offers a sweet spot of modern features and long-term stability. If you’re on a managed VPS like DreamHost’s, we’ve already optimized the OS — another thing you don’t have to worry about.
The Two-Pronged Approach to E-Commerce Speed
Let’s talk about the big picture for a second. Tackling a sluggish e-commerce website isn’t just about what’s under the hood of your VPS; it’s also about what you’re loading onto it.
Think of it as a two-pronged attack on sluggishness:
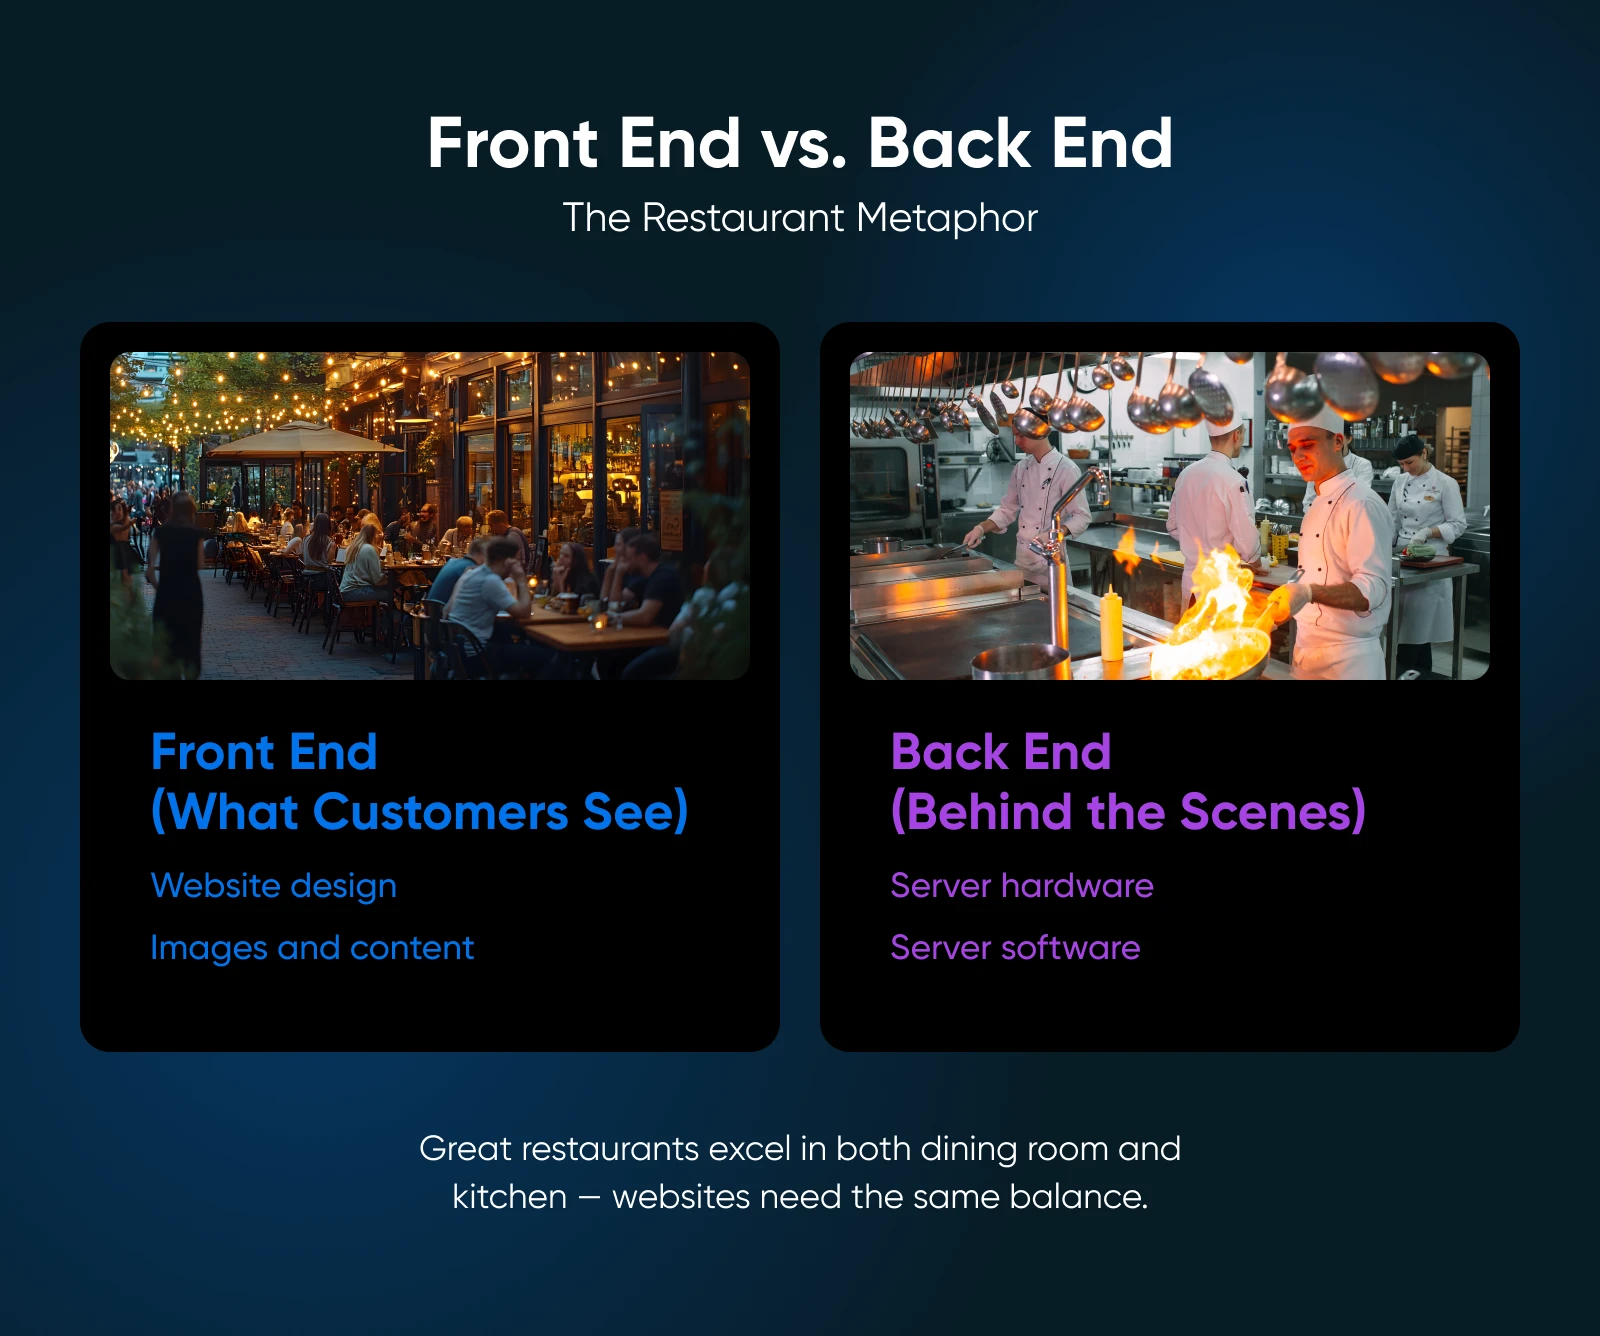
1. Front-end/application optimization (the quick wins and big impacts). This is all about making your website lighter, smarter, and faster. We’re talking about things like caching, squashing those hefty image files, using a content delivery network (CDN), and keeping your website’s code clean. The goal here is to reduce the demand your site places on your VPS in the first place.
2. Backend/server optimization (fine-tuning the engine). This is where you pop the hood and dial in how your VPS handles everything that’s left. Resource allocation, CPU tuning, memory distribution — this is the good stuff that squeezes maximum performance from your setup.
Get both prongs sharp, and you’ll be slicing through load times like a hot knife through butter.
Let’s start with the easy wins: how to lighten the load before you even think about server configs.
5 Quick Wins for Front-End Performance Optimization
Before you start adjusting memory limits and scheduler settings, it’s worth asking: Is your website just too heavy?
Optimizing your application layer, the stuff your customers interact with, is often the fastest way to see big performance gains.
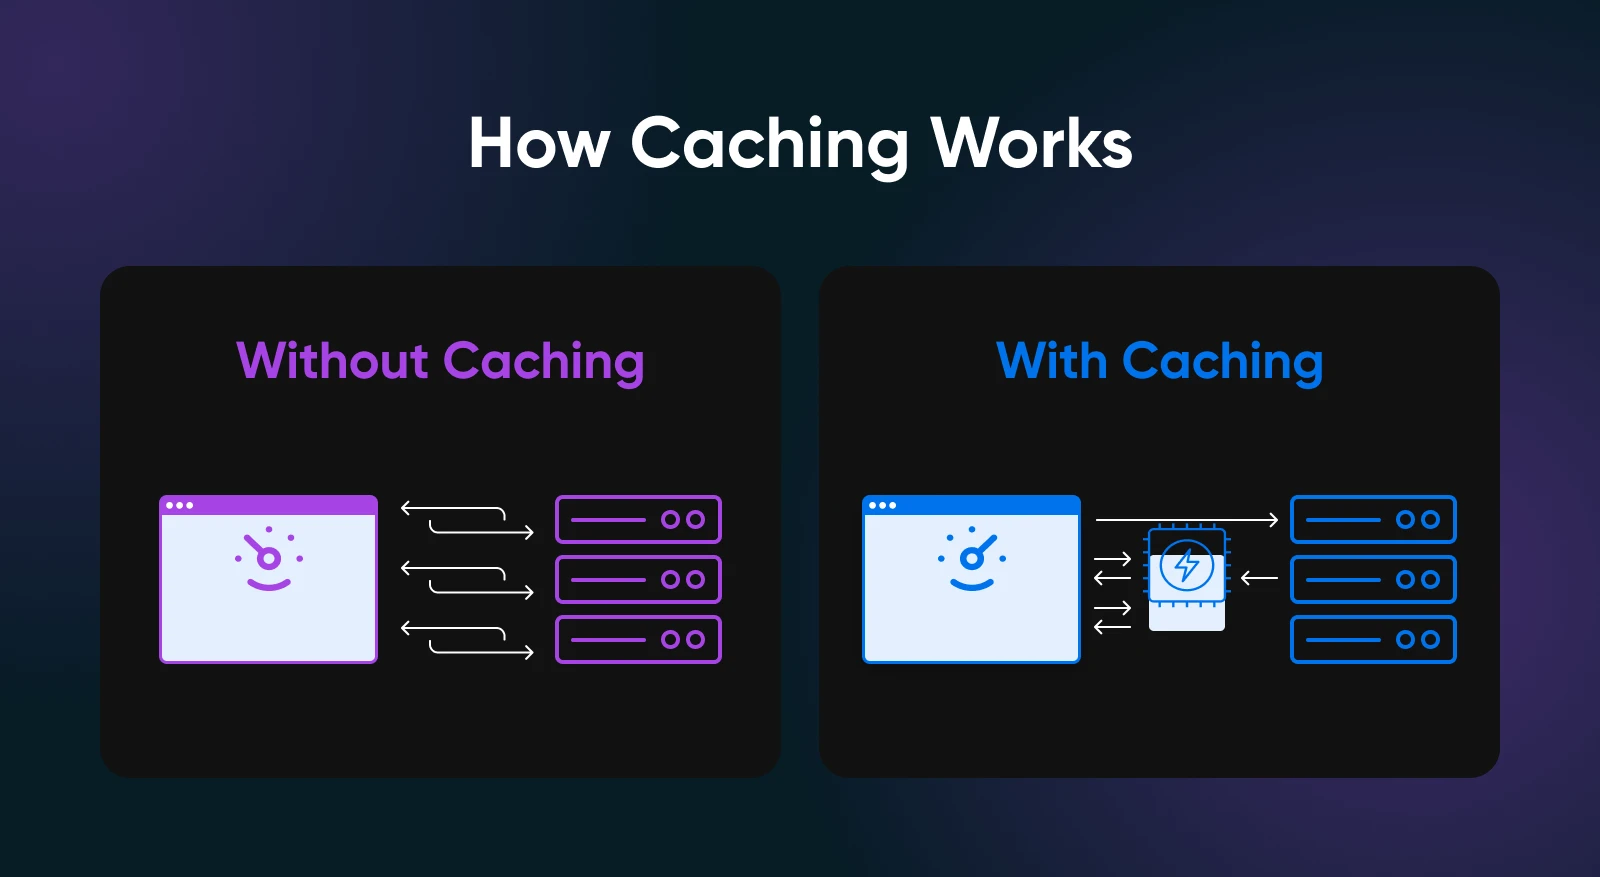
1. Proper Caching (A Multi-Level Approach)
Caching is basically teaching your website and your visitors’ browsers to remember things so they don’t have to do the same work over and over.
There are a few layers to this:
Browser Caching
You can tell your visitors’ web browsers to save a copy of the static parts of your site, like your logo, background images, and style sheets (the files that make your site look pretty). When they click to another page or come back later, their browser doesn’t have to re-download all that stuff. It just pulls it from its memory. Instant familiarity, faster loads.
Page Caching
Page caching stores a fully built HTML version of pages that don’t change much for each visitor, like your homepage, category pages, or product listings. Most e-commerce platforms, like WordPress with WooCommerce, have awesome caching plugins that handle this. (Think WP Rocket or LiteSpeed Cache if you’re on a LiteSpeed server — DreamHost supports various setups!)
Object Caching
This is a more advanced trick that helps your server remember the results of common tasks or frequently accessed bits of data, like the results of database queries (e.g., “show me all red shoes”) or pre-compiled bits of your website’s code.
Tools like Redis or Memcached are often used for this. It’s like your server keeping sticky notes of common answers instead of recalculating them every time. If you’re on a managed VPS, some of this might be tuned for you, or DreamHost support can offer guidance if you’re diving this deep.
2. Image and Media Optimization
E-commerce is visual, right? Gorgeous product photos, maybe some slick videos. However, those big files can be performance vampires if you’re not careful.
- Serve smart sizes (responsive images): Don’t send a giant, 3000-pixel-wide image to someone’s tiny phone screen. Use techniques (like the srcset attribute in HTML, or plugins that handle it) to deliver optimized image sizes based on the visitor’s screen.
- Embrace modern image formats (like WebP): Newer image formats like WebP offer amazing quality at much smaller file sizes than traditional JPEGs or PNGs. Most modern browsers love them. Provide fallbacks, like a JPEG, for the stragglers. Many tools and CDNs can auto-convert to WebP.
- Implement lazy loading: Why load an image at the bottom of a long product page if the visitor hasn’t even scrolled down there yet? Lazy loading waits until an image is just about to enter the screen before it loads. Sneaky, efficient, and great for initial page speed.
- Compress, compress, compress: Use tools like ShortPixel, TinyPNG, or the open-source Squoosh app to shrink image file sizes without making them look like a pixelated mess. This is often the biggest win for image optimization.
- Resize before uploading: If your product image will only ever display at 800 pixels wide on your site, resize it to 800 pixels wide before you upload it. Don’t upload that massive original from your camera and hope the browser sorts it out. That just wastes bandwidth and slows things down.
Pro tip: For optimization purposes, consider hosting videos on platforms like YouTube or Vimeo. They’re built for video delivery and won’t bog down your VPS. Then, just embed them on your site.
If you MUST self-host, here’s what to do: compress your videos, use modern formats, and implement lazy loading or “click to play” so they don’t try to load until someone wants to watch.
3. Code Optimization
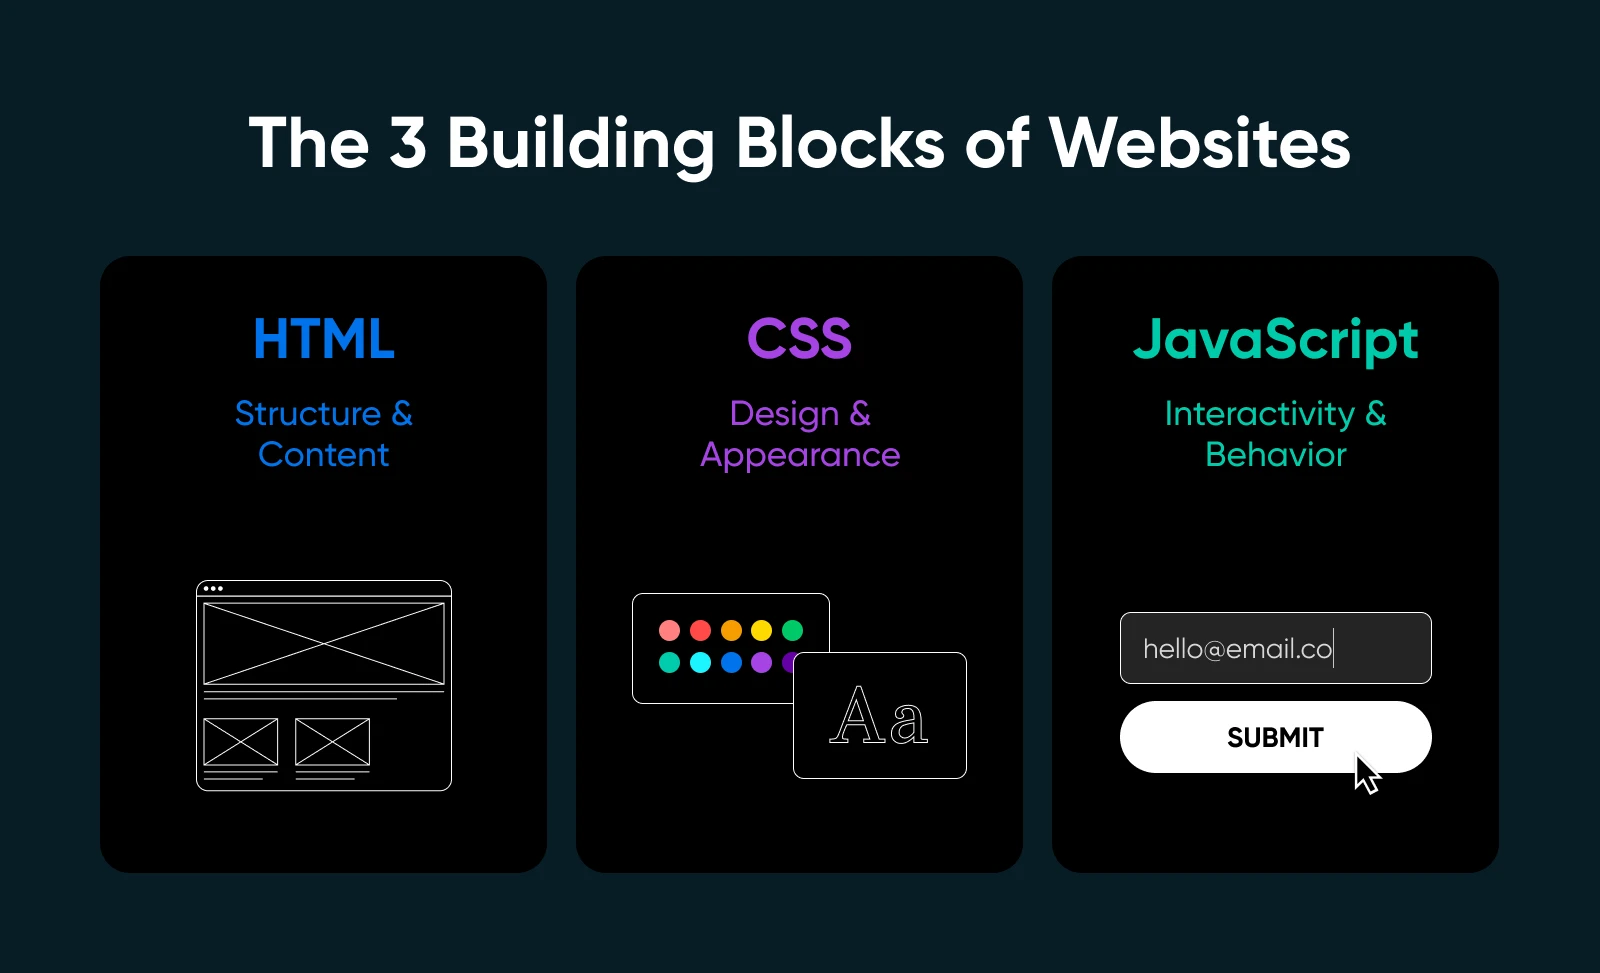
Think of your website’s code (HTML, CSS, JavaScript) as the instruction manual your server and your visitors’ browsers have to read. If it’s messy, bloated, or confusing, things slow down.
JavaScript Optimization
JavaScript makes your site interactive. Think image sliders, cool pop-ups, instant search. However, too much, loaded badly, can bring things to a crawl.
- Defer the unimportant: Load non-critical JavaScript files after the main content of your page is visible. Your visitor sees the important stuff faster.
- Bundle and minify: Combine multiple JavaScript files into fewer files, and minify them by removing all unnecessary characters, like spaces and comments that browsers don’t need.
- Cull the unused: If your theme or a plugin is loading JavaScript for a feature you don’t even use, find a way to stop it (or use a lighter theme/plugin).
CSS Optimization
CSS makes your website look good with colors, fonts, and layouts.
- Critical CSS first: For super-fast perceived performance, some folks “inline” the absolute minimum CSS needed to style the top part of the page that’s immediately visible. The rest loads a little later. This is a bit more advanced but can make a big difference.
- Remove unused styles: Over time, your stylesheets can get clogged with styles for things that no longer exist or aren’t used. Tools like PurgeCSS help clean this up.
- Minify, minify, minify: Just like with JavaScript, minifying your CSS files makes them smaller and faster to download.
HTML Optimization
HTML is the basic structure of your pages.
Keep your HTML clean and semantic. Avoid overly complex structures if a simpler one will do. This isn’t usually the biggest bottleneck, but clean code is happy code.
4. Plugin and Extension Pruning
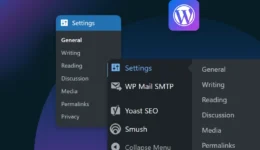
This one’s huge for platforms like WordPress/WooCommerce, Magento, etc. It’s so easy to keep adding “just one more plugin” until your site is groaning under the weight.
Every plugin or extension adds more code, more potential database queries, and more things that can slow your site down or conflict with each other. This is what we call “plugin bloat.”
- Audit regularly: Once a quarter, go through every plugin/extension. Ask yourself: “Do I really need this? What value is it truly adding?” If the answer is “Umm…” or “I forgot,” it’s probably time to say goodbye.
- Quality over quantity: One well-coded, comprehensive plugin is often better than three clunky ones that do bits and pieces of the same job.
- Disable, don’t just deactivate (if testing): If you’re testing whether you need something, deactivating is fine. However, for long-term removal, delete it properly.
- Check performance impact: Some plugins are known resource hogs. If your site is slow, try selectively disabling plugins (on a staging site, please!) to see if you can find a culprit.
5. Content Delivery Optimization
We touched on CDN caching, but a CDN is a broader performance optimization strategy that deserves its own spotlight.
A CDN is a network of servers spread all around the world. It takes copies of your website’s “static assets,” like images, CSS, and JavaScript, and stores them on these servers.
Integrating a CDN (like BunnyCDN, StackPath, or Cloudflare, which DreamHost often has integrations or recommendations for) is usually straightforward. Many offer image optimization and other cool features at the “edge” (their servers), further boosting performance.
Because the CDN handles a lot of the delivery work for your static files, your VPS has less to do. It can focus its precious resources on dynamic tasks like processing orders and managing user accounts.
5 Strategies for Smarter Backend VPS Resource Allocation
This is where we make sure your server is primed to handle whatever your awesome, optimized e-commerce site throws at it.
1. Memory (RAM) Allocation
RAM is typically your most precious resource for e-commerce. Here’s how to allocate it effectively:
- PHP memory allocation: Adjust your php.ini settings to allocate sufficient memory for your e-commerce platform.
- WooCommerce: Minimum 256MB, recommended 512MB for busy stores.
- Magento: Minimum 800MB, recommended 2GB for enterprise shops.
- Shopify Custom Storefronts: Minimum 512MB for Node.js applications.
- Database memory: MySQL/MariaDB performance hinges on proper memory allocation.
- Allocate ~30% of available system RAM to “innodb_buffer_pool_size.”
- For MySQL 8.0 , focus on innodb_buffer_pool_size and avoid using the deprecated query cache.
- Use innodb_buffer_pool_instances (1 per 1GB of buffer pool).
- For high-traffic stores, consider dedicating a separate VPS just for the database.
- Web server memory: NGINX typically uses less RAM than Apache.
- For Apache: Adjust MaxRequestWorkers based on available RAM (divide usable RAM by average process size).
- For NGINX: Configure “worker_connections” and “worker_processes” based on CPU cores and available memory.
- Caching services: Dedicate specific amounts of RAM to caching.
- Redis: For session storage and object caching (size based on actual data needs, monitor with redis-cli info memory).
- Memcached: Alternative for object caching (configure slab allocation based on key distribution).
- Swap configuration:
- For servers <2GB RAM, set swap equal to RAM amount.
- For servers 2–8GB RAM, set swap to half of RAM.
- For servers >8GB, set swap to 4GB or use swappiness tuning.

2. CPU Resource Allocation
E-commerce sites tend to be CPU-intensive during checkout processes:
- Process priority: Set higher CPU priorities for:
- Payment processing scripts.
- Checkout page rendering.
- Critical API connections.
- PHP process management: Fine-tune PHP-FPM settings:
- pm.max_children = (Total RAM – Reserved RAM) / PHP process size.
- pm.start_servers = 20% of max_children.
- pm.min_spare_servers = 10% of max_children.
- pm.max_spare_servers = 30% of max_children.
- Consider using pm = ondemand for lower-traffic sites to conserve resources.
- Background tasks: Offload CPU-intensive operations:
- Move image generation to scheduled tasks.
- Process reporting during off-hours.
- Handle email generation asynchronously.
3. Disk I/O Allocation
Disk operations can become a silent bottleneck.
- Separate critical directories: Place high-traffic directories on different volumes.
- /var/lib/mysql on dedicated SSD volume.
- Media/product image directories on separate volume.
- Log files on lower-priority storage.
- I/O scheduling: Use appropriate I/O schedulers.
- For SSDs in modern kernels: Use mq-deadline or none.
- For HDDs: Use bfq for better fairness.
- For virtual environments: Use deadline scheduler.
- Adjust using: echo scheduler_name > /sys/block/[device]/queue/scheduler (replace [device] with actual device name like sda).
- I/O priorities: Set lower priorities for non-critical operations.
- Backups.
- Log rotation.
- Bulk imports.
4. Network Resource Allocation
Network resources are often overlooked, but they’re crucial for image-heavy stores.
- Traffic prioritization:
- Prioritize checkout page traffic.
- Give API connections stable bandwidth.
- Limit admin panel bandwidth during peak hours.
- Implement rate limiting for crawlers and non-essential resources.
- CDN integration:
- Offload static assets to CDN.
- Configure proper cache control headers for different asset types.
- Use image optimization at the CDN level.
5. Dynamic Resource Allocation for Traffic Patterns
E-commerce traffic isn’t linear. It spikes during promotions and holidays.
- Time-based resource shifting:
- Allocate more resources during business hours.
- Reduce allocations during maintenance windows.
- Schedule resource-intensive tasks during quiet periods.
- Event-based allocation:
- Implement temporary resource increases during sales events.
- Use cgroups to dynamically adjust resource limits.
- Create specific configuration profiles for high-traffic events.
Don’t Forget: Security Affects Performance, Too
A slow site doesn’t always mean bad code or low resources. Sometimes, it’s bad actors.
Bots, brute-force attacks, and background malware can eat up your CPU, hog bandwidth, and bring your store to a crawl.
Here’s how to stay ahead:
- Install a WAF (Web Application Firewall) to block malicious traffic before it hits your server.
- Rate-limit login attempts and disable XML-RPC if you’re on WordPress.
- Scan regularly for malware or file injections.
- Keep your OS, plugins, and software updated. (Managed VPS? We’ve got you.)
How To Monitor VPS Resources (So You’re Not Firefighting on Black Friday)
Your VPS shouldn’t feel like a black box. If you wait until your site crashes to investigate usage, you’ve waited too long. Here’s how to keep an eye on things and scale before things get messy.
What to monitor:
- CPU usage (above 80% consistently = warning sign).
- RAM usage (frequent swapping = your VPS is crying).
- Disk I/O bottlenecks (especially during backups or imports).
- Uptime and response times (if these start creeping up, something’s off).
How to monitor:
- Built-in DreamHost VPS dashboard.
- htop, atop, or glances for real-time Linux monitoring.
- External tools like UptimeRobot or New Relic.
When to scale:
- You notice consistent slowdowns during peak hours.
- Sales events cause performance drops or outages.
- Your backend is fully optimized, but bottlenecks remain.
Scaling with DreamHost is easy — just upgrade your VPS plan from the dashboard and boom! More power.
The Million-Dollar Question: Upgrade or Optimize?
A sluggish store doesn’t always mean you need a bigger VPS. Sometimes it just means too many bloated plugins, unoptimized images, or missed caching opportunities.
Clean up first. Monitor second. Then scale only if you’re still maxed out.
Managed VPS vs. DIY: Who’s Got Time for All This?
Let’s be honest: tuning memory buffers and optimizing PHP-FPM configs is not why you started an e-commerce business.
| Feature | DIY VPS | Managed VPS (like DreamHost) |
| OS and software updates | Manual | ✅ Automated |
| Server tuning | Your job | ✅ Pre-optimized |
| Security patching | You patch it | ✅ We do |
| Support | StackOverflow | ✅ 24×7 DreamHost experts |
| Peace of mind | ❌ | ✅ Yes, please |
Think about it: if your time is worth even $30/hour, spending five hours a month on server management costs you $150 in opportunity cost. A managed VPS solution might cost $30–50 more than DIY, but you’re still coming out ahead. Plus, the professionals probably do a better job anyway.
TL;DR: Your VPS Should Be Pulling Its Weight
If your store feels slow, clunky, or just plain unpredictable, don’t assume you need to throw money at a bigger VPS.
Start by cutting the bloat. Optimize the front end. Tune the back end. Monitor your usage like a hawk. Then, and only then, decide if it’s time to scale up.
And if all that sounds exhausting? It doesn’t have to be. A managed VPS (like the kind DreamHost offers) handles the heavy lifting for you. We’re talking updates, performance tweaks, and server babysitting, all taken off your plate.
You’ve already graduated from shared hosting. Now, make sure your VPS is working for you.
Explore DreamHost’s Managed VPS Plans and get back to what really matters: running your store, not your server.

VPS Hosting
Take Charge with Flexible VPS Hosting
Here’s how DreamHost’s VPS offering stands apart: 24/7 customer support, an intuitive panel, scalable RAM, unlimited bandwidth, unlimited hosting domains, and SSD storage.
Choose Your VPS Plan